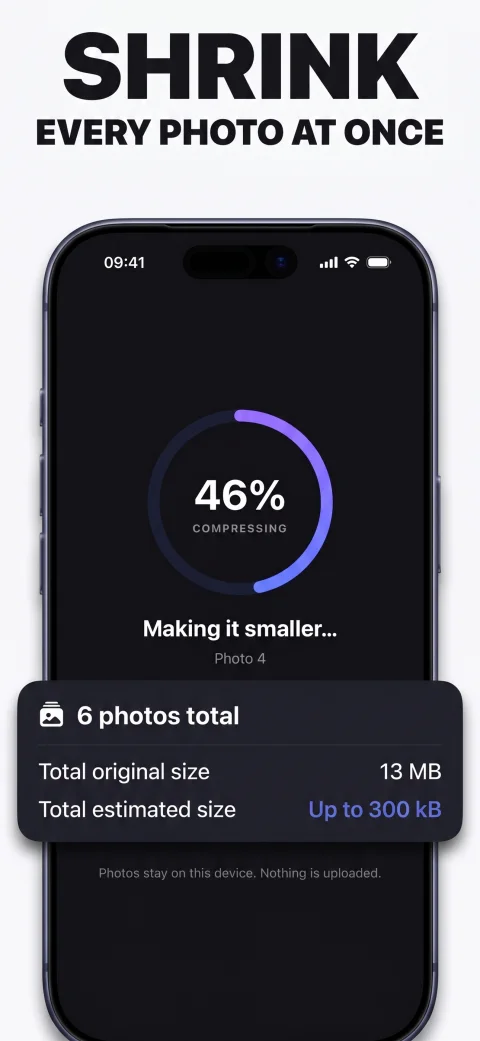
Select up to 20 photos in Shrink, choose a maximum size per photo, and tap Compress. Review the results, then save the smaller copies to Photos or share them together.
A batch shares a setting, not one total file size
Batch compression is useful when a listing, submission, or message needs several photos prepared together. In Shrink, the selected target applies to each image individually. You do not have to repeat the same compression workflow twenty times.
If you choose 500 KB for ten photos, the photo files can add up to 5 MB. That setting does not turn the selection into a single 500 KB file, and it does not make a PDF or ZIP archive.
Compress your selection together
- Choose up to 20 photos. Group images that need the same per-file ceiling. Use separate batches when destinations have different requirements.
- Select a target per photo. Choose a preset or a custom KB value. If there is a combined limit, plan the budget before starting.
- Tap Compress. Shrink processes the selection on your iPhone. Large originals can need more processing work than small images.
- Review the result. Check the output sizes and inspect important photos individually. Do not assume that every image retains the same level of detail just because the target is shared.
- Save in Photos or Share. Keep track of the new results so that you send the compressed set instead of the original selection.
What happens to photos already below the target?
They are left unchanged. For a batch containing a 150 KB photo and a 4 MB photo with a 500 KB target, the smaller image does not need recompression. The larger one is processed to meet the selected maximum.
This also matters for formats: an unchanged HEIC or PNG may remain in its original format, while a recompressed output is JPEG. If a portal requires every file to be JPEG, verify the complete set rather than assuming batch compression is a universal format-conversion step.
Start directly from Photos
Select photos in Apple Photos, open the Share sheet, then choose Shrink. If it is not immediately visible, look in the available sharing options. The Shrink extension lets you choose the target and compress without first navigating to the main app.
If the extension reports that access is locked, open the main Shrink app to review the lifetime unlock or restore access. The three free exports are shared between the main app and extension.
More than 20 photos or several destinations?
Split a larger selection into batches of up to 20. Keep destinations with different limits separate and verify each exported set before submitting. Shrink is a focused photo tool; it is not a video compressor or a whole-library storage cleaner.
For email, check the combined attachment size and allow room for message overhead. The email guide explains how to choose a per-photo budget.