Choose your image in Shrink, select the 500 KB preset, and tap Compress. Review the smaller result, save or share it, and use that exported copy when you return to your upload form.
Choose 500 KB when it matches the actual limit
Use the limit displayed by your destination. If a form accepts 500 KB, choosing 200 KB unnecessarily gives the image a smaller data budget. On the other hand, a 500 KB output will not satisfy a form capped at 200 KB.
This workflow is useful for listing photos, application attachments, and other uploads with an explicit 500 KB maximum. It does not imply that every marketplace or application portal uses that limit.
Make a smaller copy in five steps
- Read the file requirements. Note 500 KB per image, the accepted formats, and any minimum dimensions.
- Select your photo in Shrink. Use the original with the detail you need. Add several photos only if the same per-file limit applies.
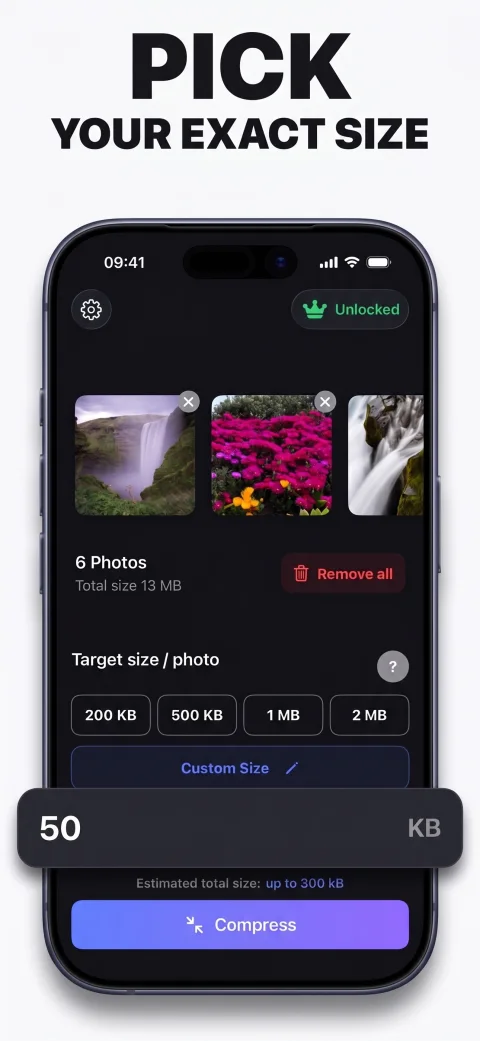
- Choose 500 KB and tap Compress. You do not have to keep guessing a quality percentage. Shrink works toward the selected size ceiling.
- Check the result. Compare before-and-after sizes and inspect relevant details, including small print or product condition.
- Save or share. Save in Photos puts the output in the Shrink album. Pick that copy when uploading.
Keep the detail that matters
Compression results depend on the original image. Fine patterns, foliage, noise, and small text can need more data than a plain background. The same 500 KB target can therefore produce different dimensions or visible detail for different photos.
Check the image at the size the recipient will use. If a portal requires large pixel dimensions and fine detail, verify both after compression. A smaller file is useful only if it remains suitable for its purpose.
Several photos, each below 500 KB
Shrink supports up to 20 photos per batch. The target applies separately to each image. Six outputs at or below 500 KB can still total close to 3 MB before message or upload overhead. A combined-upload limit needs its own budget.
Images already under the selected ceiling are left unchanged. Read the batch compression guide for mixed-size selections and combined limits.
Still getting an upload error?
First verify that the selected attachment is the new result. If size is correct, check the allowed file type and pixel dimensions. Shrink accepts JPEG, HEIC, and PNG; recompressed outputs are JPEG, while an already-small original may be left in its original format.
Use a dedicated conversion step if your form requires JPEG but your already-small image remains HEIC. Shrink’s purpose is target-size compression, not guaranteed conversion of every input. The format checklist explains this distinction.