If an upload rejects an iPhone photo for being too large, read the exact size limit, compress a copy to that maximum in Shrink, and select the exported result. If it still fails, check the required file type and dimensions.
Find the requirement that is actually failing
“Too large” can refer to file size, image dimensions, or all attachments combined. A form may also show a generic upload error for an unsupported format. Read the instructions beside the upload button and any detailed error message before changing the image.
| Requirement | What to check |
|---|---|
| KB or MB maximum | Size of the final exported file |
| Pixel dimensions | Width, height, and any minimum resolution |
| JPG / JPEG only | Actual exported format, not just filename |
| Combined upload limit | All selected files added together |
Fix a file-size rejection with Shrink
- Copy the stated maximum. Choose the matching preset: 200 KB, 500 KB, 1 MB, or 2 MB. Use Custom Size for another supported limit.
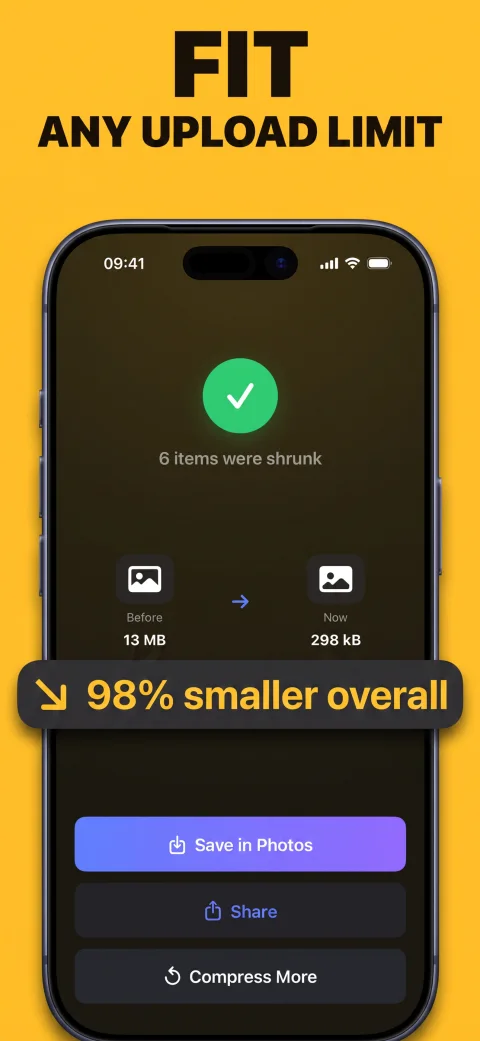
- Select the image and tap Compress. Shrink handles photo compression locally on your iPhone.
- Check the result before exporting. Make sure text and other required details remain usable.
- Save in Photos or Share. Select the compressed copy when returning to the form. The original is not the same file as your output.
- Retry the upload. If it fails again, compare the result against each requirement instead of repeatedly reducing quality.
Why an under-limit HEIC photo may still be rejected
Some forms require JPEG. Shrink accepts JPEG, HEIC, and PNG and saves recompressed results as JPEG. However, an original already below the selected ceiling is left unchanged and can retain its original format.
Shrink therefore should not be treated as a guaranteed HEIC-to-JPEG converter. If the image is already small enough but the format is unsupported, use a dedicated format conversion step. Renaming a file extension does not change its actual format.
What if the portal specifies exact dimensions?
A photo below 500 KB can still have the wrong width, height, or aspect ratio. Shrink may reduce dimensions as part of fitting a file-size target, but it does not expose an exact-pixel resize workflow. Use a suitable crop or resize tool for that requirement, then verify dimensions again after compression.
For official submissions, follow the receiving organization’s instructions about image alterations, crop, background, and readable content. A successful size check is not a guarantee of acceptance.
A final checklist for stubborn upload errors
- Check that the selected photo is the newly saved result.
- Inspect all selected files if the form has a total limit.
- Allow a little margin for a strict size boundary using Custom Size.
- Confirm the format and dimensions rather than relying on a thumbnail.
- If every file requirement is met, check the portal’s session, connection, and support instructions.
For size-specific steps, read the 200 KB guide, 500 KB guide, or 1 MB and 2 MB guide.